www.acraftersheaven.com.au

Thankyou For stopping by to visit my little crafting corner. I have just started an online business www.acraftersheaven.com.au to sell my cards and I am also selling craft supplies. I love reading all your comments, and am happy to answer any questions.

You can also find me on Facebook here
https://www.facebook.com/ACraftersHeaven

Stay safe,
Tania

Wednesday, September 11, 2013

some various swing cards


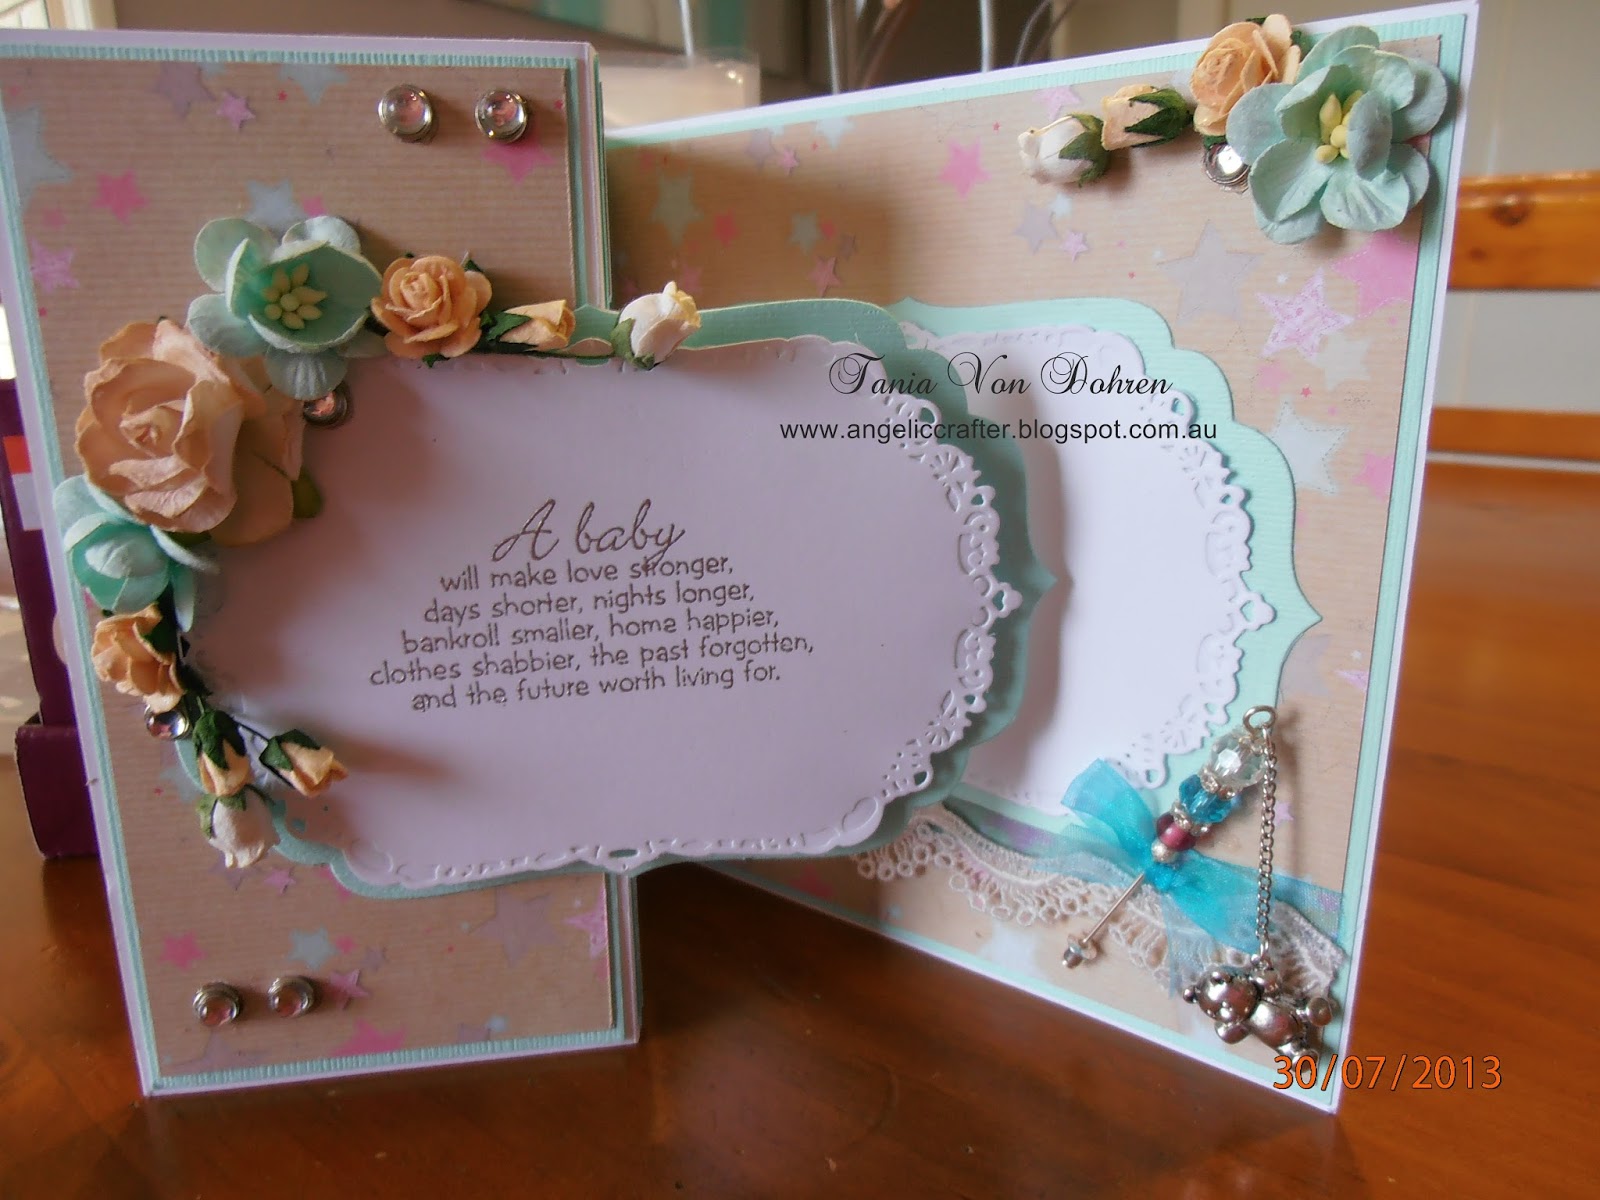
Hi there! This is a quick post, basically because these cards are quick to make.  There is no colouring involved, but the embellishments make the cards exquisite.  I thought I would post them just purely to give you some ideas on different things that you can put on your cards.  I alter a lot of things, like cutting the ring off charms (as seen with the dinosaur in the pebbles near the fence) or the back notch of buttons and the split pins off brads. I hope you can find some ideas here.  By inking the edge of  straight cuts and using some frantage or different coloured embossing powders you can transform a simple card topper with a saying. 

Thanks for stopping by, Stay safe XOX Tania


Forever Friends Bear with large Present


Good morning. thanks for stopping by.  Today I have another swing card, this time using a Forever friends stamp of bear with large gift.  It came in a set of wood mounted stamps a couple of years ago and is super cute!  I did not write down the colours I used. The DP is from a Kaisercraft pad called True Romance.  The flowers are Wild Orchid Crafts, the ribbon is from my LSS Arnolds.  I made the acetate butterfly... an update for these.... I have always used dimension magic to mix the glitter in and seal the staz on ink.  My LSS did not have any in stock, so I got some glossy accents thinking it would do the same trick.... It doesn't!!!! it is much thicker and cracks when you cut out the butterfly and fold up the wings. So I am sticking with the dimension magic!  The hearts are cut from a memory box die called precious hearts.  If you look closely among the flowers, I have glued in some diamontes.. the sparkle is gorgeous.  I buy cheap sew-on rhinestone buttons on ebay (the claw set ones) and remove the claw, leaving the bevel rhinestone to glue on.  Adds such a nice touch and if you buy in bulk, they really are a cheap way to add bling!


Thanks for stopping by. Stay safe XOX Tania


Tuesday, September 10, 2013

popcorn the Bear Fishing for Dad

Hi There. Its been such a long time since I have posted a card here... I've had my hands all little full :-) I managed to get quiet a few cards done before Amelia was born, so will try and get them uploaded as quick as I can.  Some may not have the colours or DP companies, but I hope they will give you some inspiration and ideas for some of your cards.

This one is one I did for Fathers day.  It is a Popcorn the Bear stamp of a bear and a duck fishing.  It is an adorable image, and you can have fun colouring wood grains and bear fur.  now, you all know how much I struggle with boys cards, but I had so much fun with this one!  I did it as a swing card, and used lots of old stuff I've had for ages from my scrapbooking days!  So, the shells, starfish and glass starfish all are seconhand from a cousins wedding table decorations! Yep, recycling at its best!  The fish are brads are leftovers I used on our honeymoon scrap page (we were married in 2003!) and the metal tiles were in my stash as well.  I used some gold pebble sand that I dont know where it came from years ago, and I have splashed around some dew drops in the water.  


Design Paper from a Prima Pad called Craftsman


copic colors:
YR 12, 15, 16
Y 35, 38
E 15, 19, 21, 23, 25, 29, 31, 33, 34
B 000, 14, 91
G 99
YG 03, 63
R 11, 20
N 1, 4, 6
100

Thanks for stopping by, Stay Safe XOX Tania

Thursday, September 5, 2013

box tutorial for cards

Hi there. A really quick post today with the tutorial for making boxes for square cards.  I thought I had a tutorial on this, but cant find it, so here it is:

You can adjust measurements to suit your cards.  Basically what you do is measure you card- I make my cards 14.8cm square ....  Add 4mm to this measurement.   This is going to be the base of your box.  I do my boxes 2.5cm or 1 inch deep, so you need to add this to the cardstock measurement X 2.  So in total you should have a 20.2cm piece of cardstock for the base box (that is 15.2cm + 2.5cm + 2.5cm).  Score each edge 2.5cm or 1 inch.  then score each little corner on the box diagonally (the first picture may best describe what I mean).  then it is a matter of gluing the corners in.  I find it helpful to fold up all the score lines before gluing and just hold the corners with a paper clip until the glue takes hold.  Do exactly the same technique for the lid EXCEPT add 0.3mm to the size of the cardstock... so you will have a piece of card 20.5cm square, scoring at 2.5cm or 1 inch around each side.  You need this extra little bit so the top sits over the base.

Take a look at the pictures below, they will be much more helpful in explaining how to make these boxes. If you have any questions, please drop me a message.

Stay safe XOX Tania