www.acraftersheaven.com.au

Thankyou For stopping by to visit my little crafting corner. I have just started an online business www.acraftersheaven.com.au to sell my cards and I am also selling craft supplies. I love reading all your comments, and am happy to answer any questions.

You can also find me on Facebook here
https://www.facebook.com/ACraftersHeaven

Stay safe,
Tania
Showing posts with label trifold swing card. Show all posts

Wednesday, September 11, 2013

some various swing cards


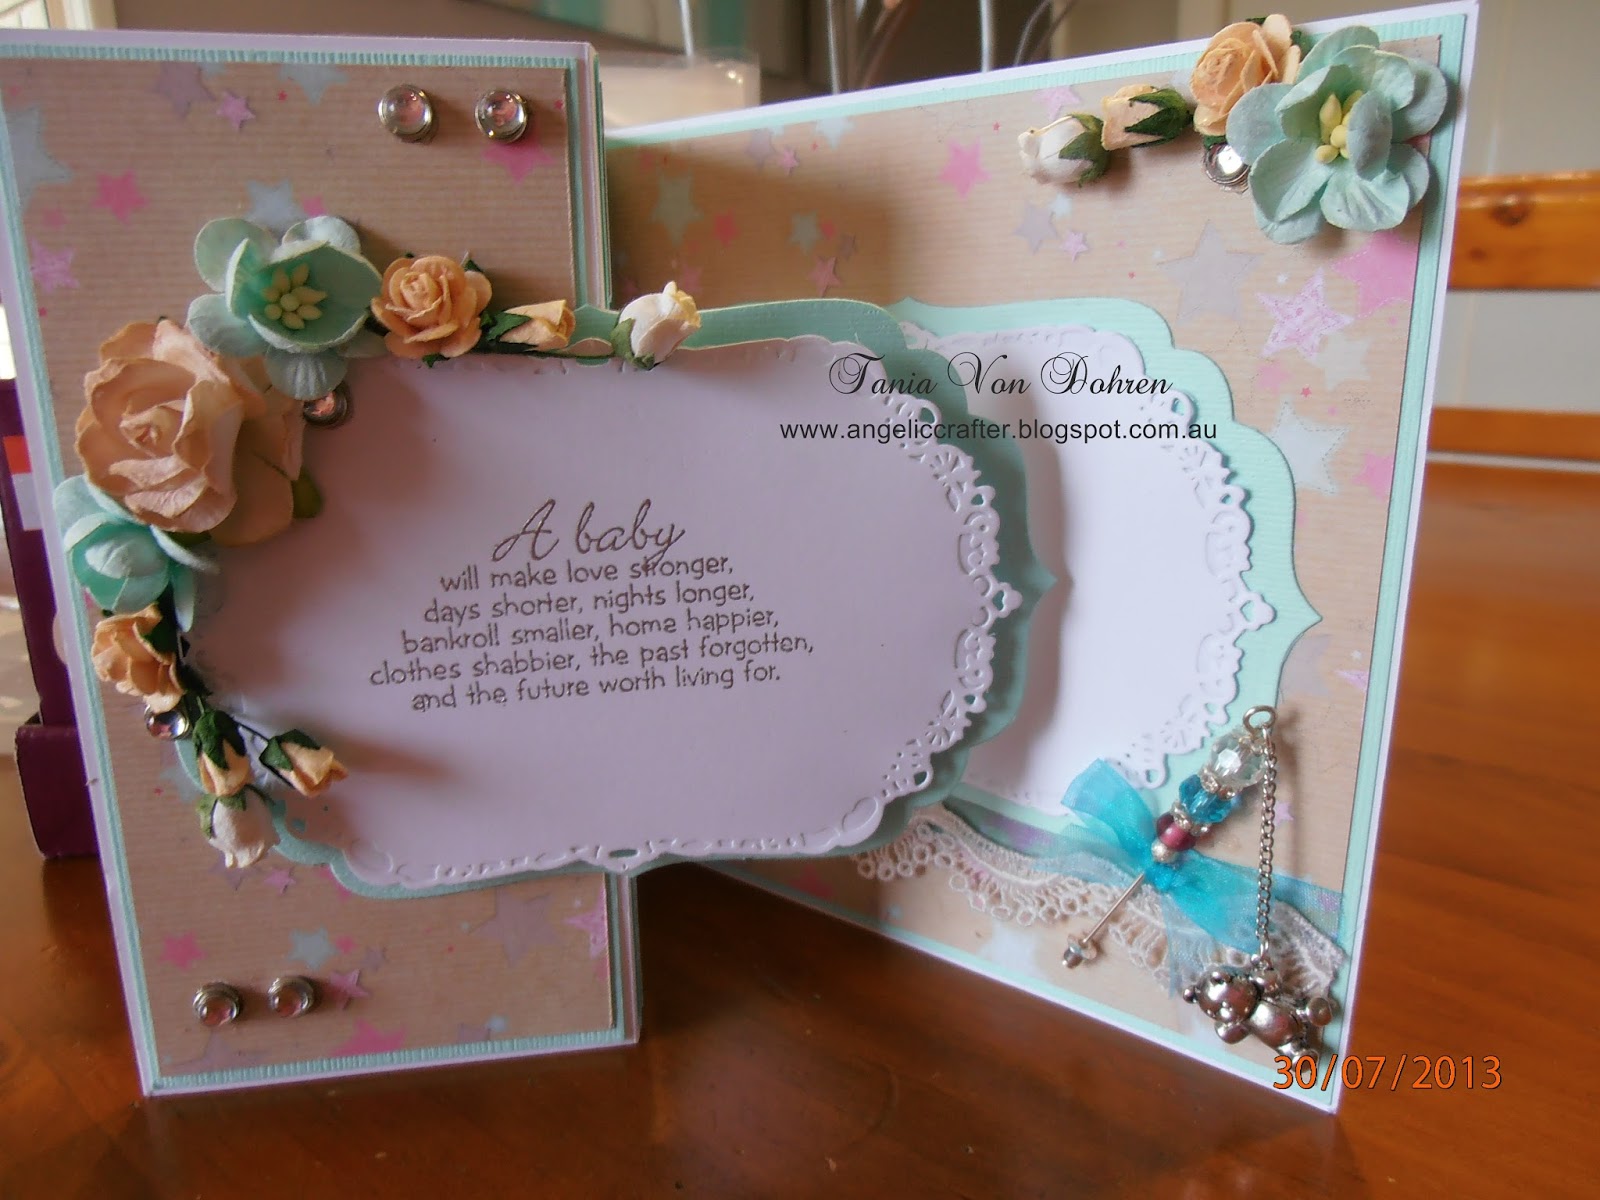
Hi there! This is a quick post, basically because these cards are quick to make.  There is no colouring involved, but the embellishments make the cards exquisite.  I thought I would post them just purely to give you some ideas on different things that you can put on your cards.  I alter a lot of things, like cutting the ring off charms (as seen with the dinosaur in the pebbles near the fence) or the back notch of buttons and the split pins off brads. I hope you can find some ideas here.  By inking the edge of  straight cuts and using some frantage or different coloured embossing powders you can transform a simple card topper with a saying. 

Thanks for stopping by, Stay safe XOX Tania


Forever Friends Bear with large Present


Good morning. thanks for stopping by.  Today I have another swing card, this time using a Forever friends stamp of bear with large gift.  It came in a set of wood mounted stamps a couple of years ago and is super cute!  I did not write down the colours I used. The DP is from a Kaisercraft pad called True Romance.  The flowers are Wild Orchid Crafts, the ribbon is from my LSS Arnolds.  I made the acetate butterfly... an update for these.... I have always used dimension magic to mix the glitter in and seal the staz on ink.  My LSS did not have any in stock, so I got some glossy accents thinking it would do the same trick.... It doesn't!!!! it is much thicker and cracks when you cut out the butterfly and fold up the wings. So I am sticking with the dimension magic!  The hearts are cut from a memory box die called precious hearts.  If you look closely among the flowers, I have glued in some diamontes.. the sparkle is gorgeous.  I buy cheap sew-on rhinestone buttons on ebay (the claw set ones) and remove the claw, leaving the bevel rhinestone to glue on.  Adds such a nice touch and if you buy in bulk, they really are a cheap way to add bling!


Thanks for stopping by. Stay safe XOX Tania


Thursday, July 25, 2013

Lili of the Valley Little Trumpet


Hi there thanks for dropping by.  Long time since I have posted a card... I have been making loads, I promise..  I just haven't had time to upload them :-(   I have made a few christmas cards for a lady at the craft market I go to, so be warned... over the next couple of days, you are going to be inundated with all things Christmas!!! 

Its been a long time since I have pulled out my LOTV stamps, so I thought I would ink this cutie up.  Her name is Little Trumpet, and I have done a swing style card.  This style card is super easy to make but is really effective!

I have used Making Memories paper called Je tÁdore... not really a christmas paper, but the music notes fitted well with the trumpeting!  Flowers are of course Wild Orchid Crafts and made the little angel charm myself.  The die is labels one by spellbinders.


Copic colours used:
R 20, 81, 85
RV 95, 99
YG 03
E 000, 00, 01, 25, 30, 34, 53
Y 18, 35, 38
B 000 for shading

I would like to enter this card into the following challenge:
Lili's Little Fairies Challenge: Christmas in July
Creative Inspirations Challenge: Bingo (Ribbon, stamped image and flowers)
Bearly Mine Challenge: Anything Goes


Thanks for stopping by. Stay Safe XOX Tania


Wednesday, February 8, 2012

Valentines swing trifold Card + Tutorial

Goodmorning! As promised last night (well very early this morning LOL!) here is the tutorial for the swing trifold card. Start with a piece of card 14cm x 28cm or 5.5" x 11". fold in half then fold the top opening flap in half again. I like to put my design paper on here as it is easier when you cut your swing..... so for my heart paper, I cut three pieces- 2 @ 13.6cm (2 5/8") x 6.7cm ( 5 3/8") and one piece @ 13.6cm (5 3/8") x 13.6 (5 3/8")


To make your swing, choose your desired nestie shape and place it central over the two smaller sections. you are going to cut your swing out of the second section. Place your top clear pad over the second section....NOTE: your die will not be completely covered with your clear shim! Run through your machine as normal.


you will end up with the above

out of your base colour, cut two shapes with the same size die as you did your swing part....one will be glued over the front swing, the other will go on the inside of the to write on (the inside heart should be directly under the swinging section so when the card is closed you wont be able to see it)...you can use alternating nesting die for the top layer in a different design paper.
decorate as you desire...here I have used ribbon, a key charm, flowers from wild orchid crafts and crystal chandeliers also from wild orchid crafts. ... I ran out of large red roses, so misted a cream rose with glimmer mist "red Velvet"
Hope this helps you and is easy enough to follow...have fun experimenting...

I am entering into the "Anything goes" challenge over at Papertake weekly with the addition of hearts
take care XOX Tania