 |
| Good morning :0) I thought I'd share with you an easy box recipe that I use to make ALL my boxes. you can adjust the size/height to what ever you desire (within the 30.5cm that is the cardstock). We work metric here in Australia, but will convert to the closest imperail measurement. Ok, so when I do boxes for my cards, I measure the card I've made and add 5mm / 1/4" (this is fo the card is not tight in the box). Thats the base measurement! then you can either make the box 2cm (metric) or 1" (imperial) deep (I do these measurements because it is easier when using the scorpal as there is not a 2.5cm grove on the metric scorpal). YOU NEED TO DOUBLE THE HEIGHT AS THIS FOLDS OVER ON ITSELF, THEN MULTIPLY THIS BY 2 (2 sides of the box). Ok, so you have the basic measurement equation- I normally make my cards 14.5cm square- so here I would add 0.5cm to the base MAKING 15cm / 5 7/8". I do my boxes 2.5cm (1") (REMEMBER TO MULTIPLY BY 4) high- so I would add 10cm / 3 15/16" to the overall dimension. that means what I end up with is a peice of card stock cut @ 25cm / 9 7/8" IT REALLY DOESNT MATTER IF SIZES ARE A LITTLE OUT, AS LONG AS YOUR SCORLINES ARE INCREMENTED EVENLY Use exactly the same technique for the lid of the box....but add a further 4mm or 1/8" to the total size so the lid sits loosely.... still scoring at the same measurements you have done for the box. for deep gift boxes I normally do a lid with a smaller lip therefore I would only add 3cm to each side and score @ 1.5cm and 3cm- adjusting the overall size accordingly. |
 |
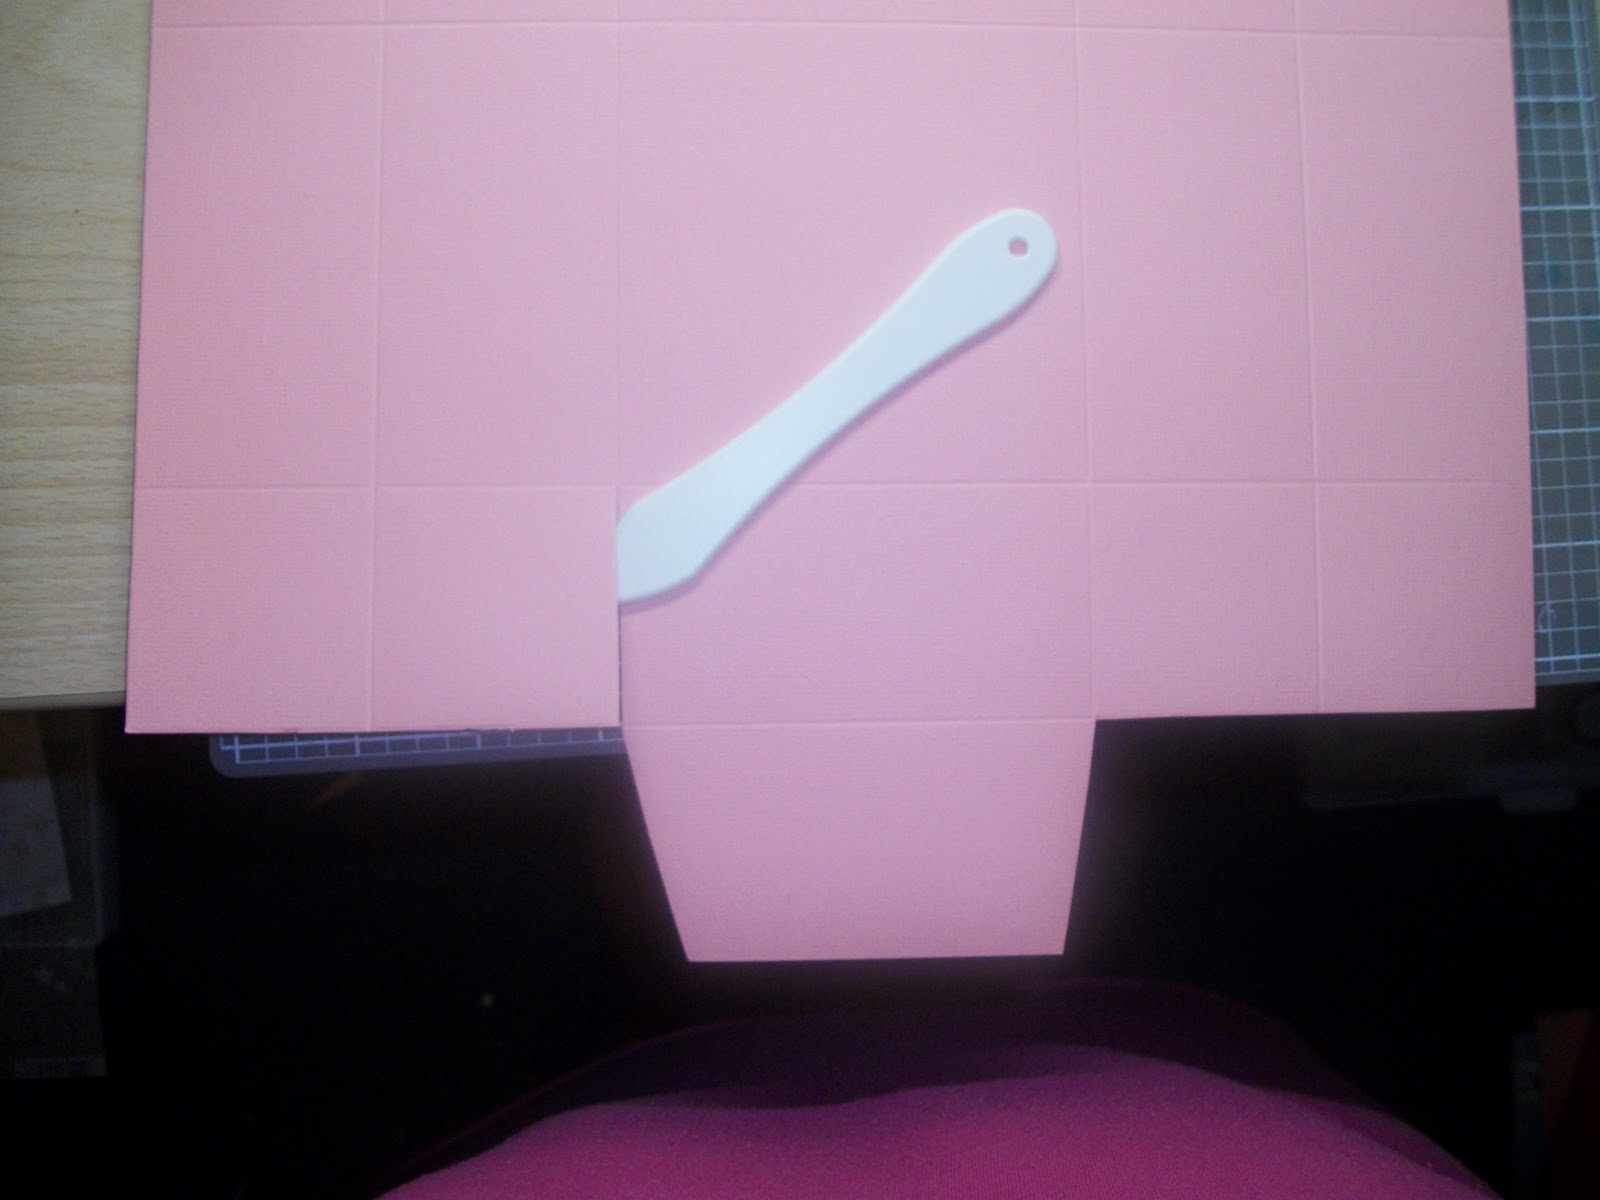
| Now you have scored around your cardstock @ 2.5cm and 5cm OR 1" and 2" all the way around, you now need to start cutting. the picture probably represents better than I can explain- I will work in squares across.......in the third square start 1cm or just over 1/4 " in, cut at an angle down to the first scorline intersection. from that point, cut along that scorline to the next intersection. |
 |
| cut along the scorline and remove the first two squares as well as the angle |
 |
| Repeat for other side |
 |
| turn card around and do exactly the same on the opposite end |


 |
| you will end up looking like this |
 |
| so the ends fold nicely trim some angles into the edges of the square flaps- I've marked them to show you, but you dont need to mark them, just cut them out- again, don't be too precise here- you are not going to see your cuts, it just helps them fold nicely into the box |
 |
| do this for all four square flaps. Now, crease all your scorlines up including the little flaps you have just cut. ok, so looking at the picture, glue or adhesive tape the first section of the two outer wings (of the middle section) |
 | ||||||||
 |

 |
| you end up with a box like this. hope this makes sense- if you any help please just ask :0) thanks for dropping by xox Tania xox |
No comments:
Post a Comment