to get the size of the insert, take away 10mm from the width of the card, and 40- 60mm from the height of your card (if you want the entire inside of the card covered with this peice, take 10mm off length). the insert needs to be a strong cardstock like Bazzil, printed
paper will not hold its shape
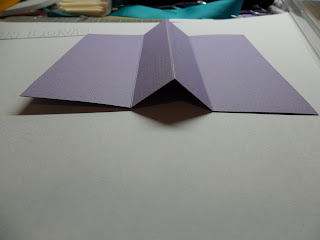 |
| using your scoring tool, fold card in half |
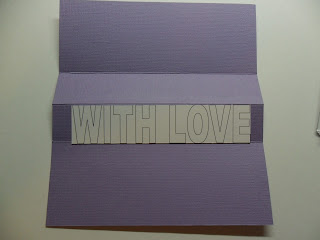 |
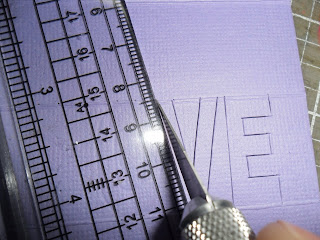
| Place the word as a template (from your computer) on the bottom of scor line and scor along the bottom of the word and move template above the center scor line and scor along the top of the word. Ok to get the words, you need to open new word document, drop down on the insert tab to picture then to word art select the style - the first box which is just square and block letters. I do mine to in ariel black size 60. If you are doing a longer word, the size will have to be smaller to fit your card. Remember, try to do a word with as little rounded letters (eg O, G, U, R) as possible ( they are hard and take too much time) |
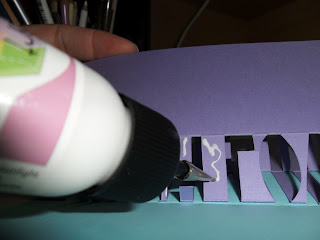
The wording needs to sit in the bottom portion of the scored section as in the photo above when pricking/ cutting.
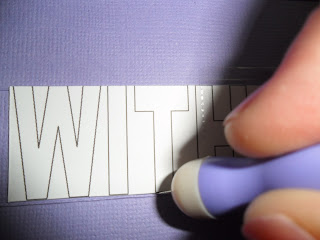 |
| using a punch needle (or a pin will do if you dont have one) prick @ every point of the letter- this serves as a cutting guide, where you will go back to your childhood and do dot to dot LOL!!! I find if I attach the template with scotch tape (as it wont tear your cardstock when removed) it stops the template from moving |
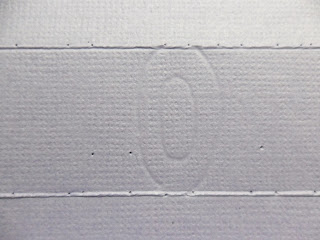 |
for the rounded letters, I just went over the "o" (on the template) with a ball point pen hard enough to indent a guide. Now play dot to dot.
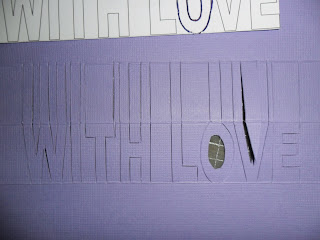
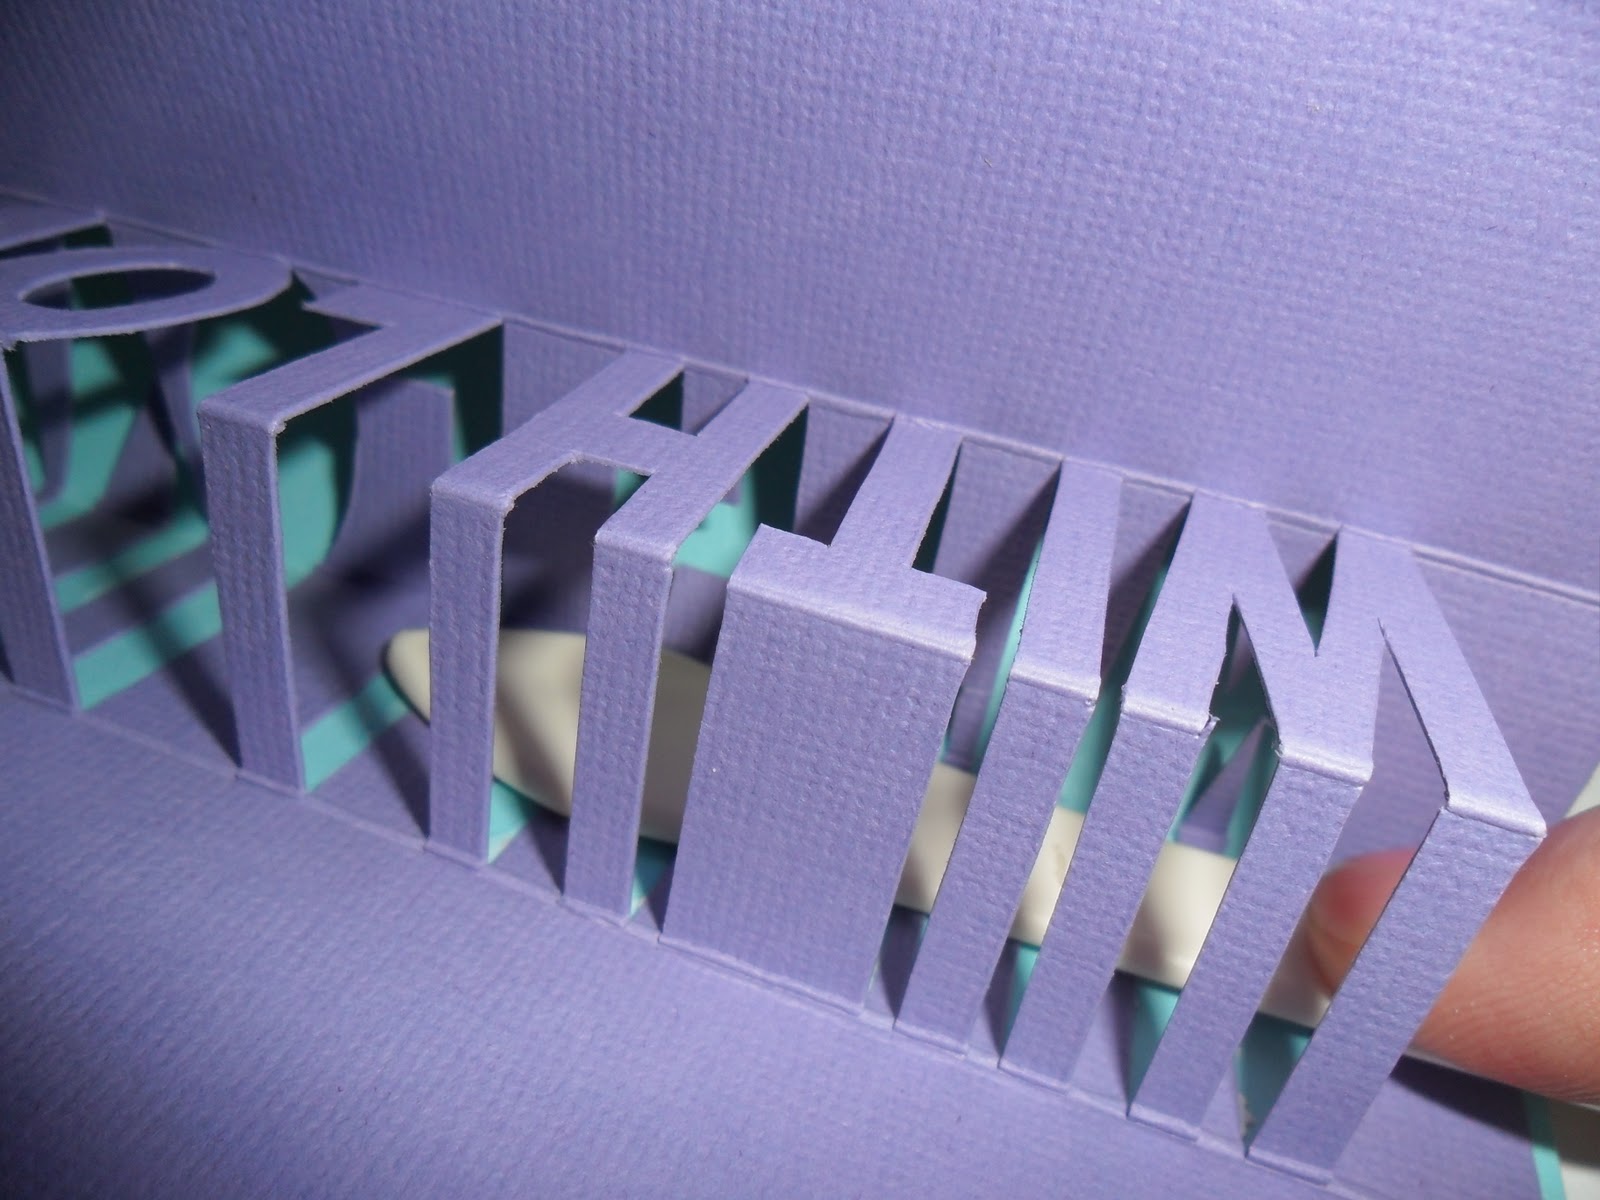
ONLY CUT UP TO THE SCOR LINES AND DO NOT CUT ALONG THE SCOR LINES
LEAVE THE LETTER ATTACHED TO THE INSERT |
 |
when cutting, it is important that you do NOT cut along the scor lines- these serve as the "holders" for your wording (note the top of the "E" is not cut)
|
 |
| @ the top of the letters ONLY cut vertical lines to the farthest top scor line...do not cut these off- they serve as the shadowing and provide stability for your pop up letters |
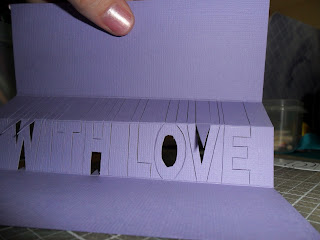 |
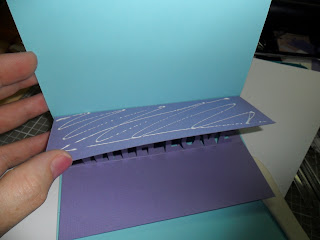
| holding your card how it will sit in your card, push through the excess card, leaving only your greeting sitting out |
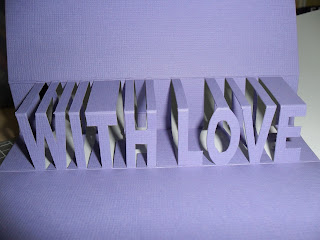 |
| folding your lettering in half, with the letters inside and the tags outside, you need to add glue to the tags, one side at a time and adhere in the centre of your card...much easier and less messier done one side @ a time- you are not adhering the flaps @ this time as the tags will shift and adjust when the card is in the closed position |
 |
| here I use my scoring tool (or palet knife) to go through the centre and push down on the tags to make sure they are stuck well enough |
 |
| once the tags are glued and you have closed and opened the card a few times, you can now glue the flaps |
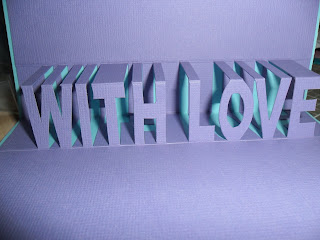 |
| I do hope this make sense and is easy to follow, once you do your first one or two, it all comes together and starts to make sense :0) Thanks for stopping by xox Tania xox |


No comments:
Post a Comment